Propagating Hostas: A Comprehensive Guide to Growing More of These Stunning Shade Plants
Propagating Hostas: A Comprehensive Guide to Growing More of These Stunning Shade Plants
Hostas, with their lush foliage and elegant forms, are beloved garden staples. Their adaptability to various shade conditions and relatively low-maintenance nature make them a popular choice for both novice and experienced gardeners. But what if you could expand your hosta collection without spending a fortune on new plants? The good news is that hostas are remarkably easy to propagate, allowing you to effortlessly multiply your existing beauties and share them with friends. This comprehensive guide will explore various methods of hosta propagation, providing detailed instructions and tips to ensure your success.

Understanding Hostas: A Quick Overview
Before diving into propagation techniques, it’s beneficial to understand the basic characteristics of hostas. These perennial plants are part of the Hosta genus, belonging to the Asparagaceae family. They’re known for their striking foliage, which varies widely in color, size, and texture. Some varieties boast vibrant green leaves, while others showcase blue-green, yellow-green, or even variegated patterns. Their flower stalks, though less prominent, add an elegant touch, producing bell-shaped blooms in shades of lavender, white, or purple.
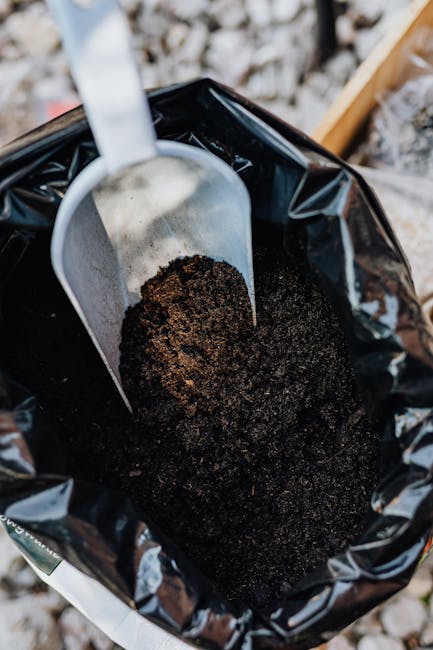
Hostas thrive in partial to full shade, making them ideal for shady corners of the garden where other plants might struggle. They prefer well-drained soil that retains some moisture. While relatively hardy, they can be susceptible to pests like slugs and snails, and certain fungal diseases in poorly drained conditions.
Methods of Hosta Propagation: A Detailed Guide
There are several effective methods for propagating hostas, each with its own advantages and disadvantages. Let’s explore the most common techniques:
1. Division: The Easiest and Most Common Method
Division is the most straightforward and widely used method for propagating hostas. It involves separating a mature clump into smaller, independent plants. This is best done in spring or early fall when the hosta is actively growing or beginning to slow down for dormancy.
- Digging up the Hosta: Carefully dig around the entire hosta clump, ensuring you get as much of the root ball as possible. Use a garden fork to loosen the soil gently and avoid damaging the roots.
- Separating the Crowns: Gently separate the clump into smaller divisions, each with its own set of roots and at least a few healthy leaves. A sharp knife or spade can be used to cut through the rhizomes if necessary. Each division should ideally have 3-5 healthy eyes or growth points.
- Planting the Divisions: Prepare the new planting holes, ensuring they are appropriately spaced. Plant the divisions at the same depth as they were originally planted. Water thoroughly after planting.
Tip: Avoid overcrowding the divisions. Allow ample space for growth. Using well-draining soil will help avoid rot.

2. Rhizome Cuttings: Propagating from Root Sections
This method involves propagating hostas from sections of their rhizomes (underground stems). It’s particularly useful for propagating rare or difficult-to-divide varieties.
- Harvesting Rhizome Sections: During spring or fall, carefully dig up a portion of the hosta rhizome. Select healthy sections with several nodes (points from which shoots emerge).
- Preparing the Cuttings: Cut the rhizome into sections, each with at least one node. Treat the cut ends with a fungicide to prevent rot.
- Planting the Cuttings: Plant the rhizome sections horizontally in a well-draining potting mix. Keep the soil moist but not soggy. The new shoots should emerge within a few weeks.
Tip: Using a humidity dome can increase the success rate by maintaining optimal humidity levels. This method needs slightly more specialized care.
3. Leaf Cuttings: A Less Reliable but Possible Method
While less reliable than division or rhizome cuttings, propagating hostas from leaf cuttings is possible, though success rates are lower. This method is best suited for experienced propagators.
- Selecting Leaf Cuttings: Choose healthy, mature leaves in the summer. Avoid leaves that are damaged or diseased.
- Preparing the Cuttings: Make a clean cut at the base of the leaf petiole (leaf stem). Dip the cut end in rooting hormone.
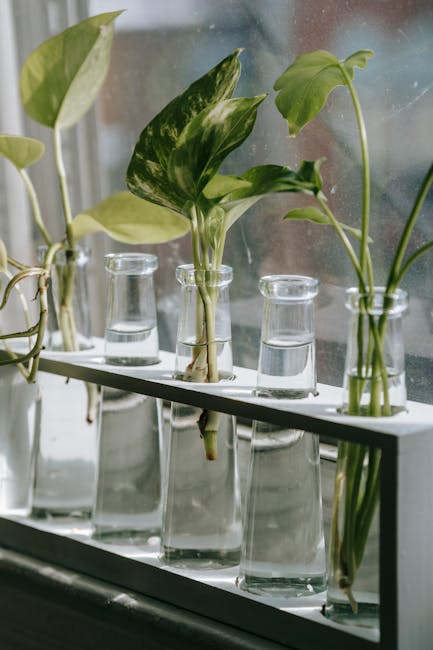
- Planting the Cuttings: Insert the leaf cuttings into a well-draining potting mix. Maintain high humidity by covering the container with a plastic bag or humidity dome. Rooting can take several weeks or months.
Tip: This method has lower success rates compared to division or rhizome cuttings. You will likely have to experiment a few times before getting great results.
4. Tissue Culture: A Highly Specialized Method
Tissue culture is a highly specialized method used for mass propagation of hostas, particularly in commercial settings. It involves growing new plants from small pieces of plant tissue in a sterile laboratory environment. This is rarely done by home gardeners due to the equipment and expertise needed.
Choosing the Right Method for You
The best method for propagating hostas depends on your experience level, available resources, and the number of plants you want to propagate. For most home gardeners, division is the easiest and most effective method. Rhizome cuttings offer another reliable option, while leaf cuttings present a greater challenge. Tissue culture is best left to professionals.

Aftercare and Maintaining Your Propagated Hostas
Once you have successfully propagated your hostas, proper aftercare is crucial for their healthy development. Keep the soil consistently moist but not waterlogged. Regular fertilization during the growing season will promote strong growth. Monitor for pests and diseases, taking appropriate measures to address any issues. With proper care, your newly propagated hostas will thrive and eventually reward you with a beautiful display of their stunning foliage.
Troubleshooting Common Problems
While hostas are relatively easy to propagate, you may encounter some challenges along the way. Here are some common issues and solutions:
- Rotting: Ensure good drainage and avoid overwatering. Use a fungicide if necessary.
- Slugs and Snails: Protect your hostas with slug traps or barriers.
- Slow Growth: Ensure adequate sunlight, water, and nutrients.
- No Growth: Check for damage to the roots or crown during the propagation process. Ensure that the propagation medium is sterile.
With patience and attention to detail, propagating hostas can be a rewarding experience. It allows you to enjoy more of these beautiful plants in your garden and potentially share them with fellow gardening enthusiasts. Embrace the process, experiment with different techniques, and enjoy the satisfaction of nurturing new life from your existing hostas.