How to Propagate Garlic: A Comprehensive Guide for Abundant Harvests
How to Propagate Garlic: A Comprehensive Guide for Abundant Harvests
Garlic, a culinary staple prized for its pungent flavor and health benefits, is surprisingly easy to propagate. Whether you’re a seasoned gardener or just starting out, mastering garlic propagation ensures a consistent supply of this versatile ingredient year after year. This comprehensive guide covers various methods, offering detailed instructions and helpful tips to maximize your success.

Understanding Garlic Bulbs and Cloves
Before diving into propagation techniques, it’s crucial to understand the structure of a garlic bulb. A single garlic bulb comprises numerous cloves, each capable of producing a new plant. These cloves are the fundamental units for propagation. The size and health of the cloves directly impact the success of your efforts. Larger, disease-free cloves generally produce stronger plants.

There are two main types of garlic: hardneck and softneck. Hardneck garlic produces a central flower stalk (scape) and generally forms fewer, larger cloves. Softneck garlic lacks a scape and produces more, smaller cloves. Both types can be propagated using the methods described below, but there are subtle differences in their optimal handling.
Methods of Garlic Propagation
1. Separating Cloves (The Most Common Method)
This is the simplest and most widely used method for garlic propagation. It involves separating individual cloves from a mature bulb and planting them directly in the ground.
- Select Healthy Bulbs: Choose large, firm bulbs free from disease or damage. Avoid bulbs that show signs of rot or discoloration.
- Separate the Cloves: Carefully break apart the bulb, separating the individual cloves. Handle them gently to avoid damaging the basal plate (the bottom of the clove).
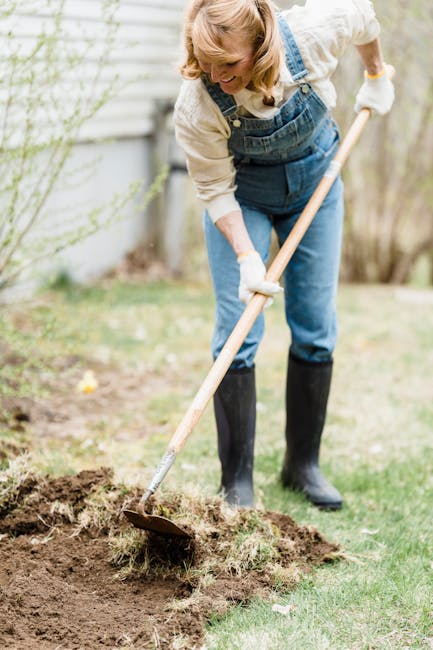
- Prepare the Planting Site: Garlic prefers well-drained soil rich in organic matter. Amend heavy clay soil with compost or other organic materials to improve drainage. Sunlight is also essential – aim for at least 6-8 hours of daily sun exposure.
- Plant the Cloves: Plant each clove with the pointed end facing upwards. The depth should be about 2-4 inches, depending on the clove size and soil type. Spacing between cloves should be around 4-6 inches to allow for growth.
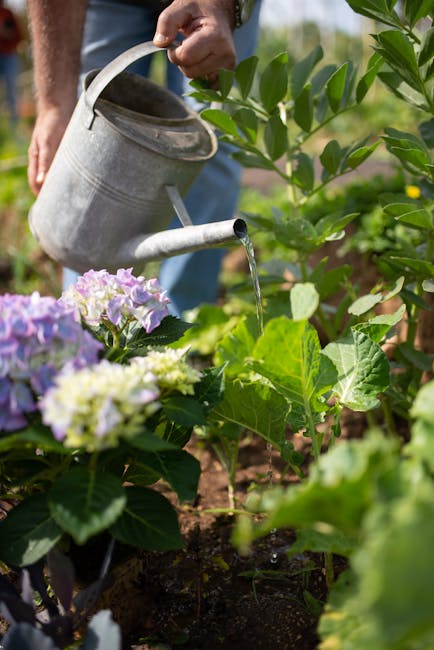
- Water Thoroughly: After planting, water the area thoroughly to settle the soil and encourage root development.
2. Growing Garlic from Seed (Bulbil Propagation)
Hardneck garlic varieties produce bulbils – small, aerial bulb-like structures – on their flower stalks (scapes). These bulbils can be used to propagate new garlic plants, although this method is less common and requires more patience.
- Harvest Bulbils: Collect the bulbils from the scapes after they have dried and turned brown. This usually happens late in the growing season.
- Prepare the Bulbils: Remove any remaining scape material from the bulbils. Select the plumpest and healthiest bulbils for planting.
- Planting Bulbils: Sow the bulbils in a seed tray or directly into the garden. Plant them about 1/2 inch deep and space them around 1-2 inches apart. Provide consistent moisture and warmth for germination.
- Overwintering (if necessary): In colder climates, the newly grown garlic plants from bulbils may need protection over the winter. You might choose to transplant them into pots and move them indoors.
3. Using Sets (Small Garlic Bulbs)
Sometimes, smaller bulbs develop alongside the main harvest. These sets, while not as large as a mature bulb, can still be used for propagation. They provide a quicker way to obtain mature garlic bulbs than growing from seed.
- Select Healthy Sets: Choose firm, healthy sets free from disease. Discard any that are soft or show signs of rot.
- Planting Sets: Plant the sets in the same manner as individual cloves, ensuring proper spacing and depth.
Garlic Propagation Timing and Climate Considerations
The best time to plant garlic varies depending on your climate. In general, garlic is planted in the fall, several weeks before the first hard frost. This allows the roots to establish before winter. In milder climates, planting in early spring might be possible. However, planting in the fall usually results in a larger and healthier harvest.
Cold hardiness is a key factor in choosing garlic varieties for your region. Some varieties are better suited to colder climates than others. It’s essential to select garlic varieties appropriate for your specific geographic location and expected winter temperatures.
Care and Maintenance of Propagated Garlic
Once planted, regular care ensures a successful harvest. This includes:

- Watering: Keep the soil consistently moist, especially during dry spells, but avoid overwatering, which can lead to root rot.
- Weeding: Regularly remove weeds to prevent competition for nutrients and water.
- Fertilizing: A light application of balanced fertilizer early in the growing season can promote growth. Avoid over-fertilizing, which can negatively impact flavor and storage quality.
- Pest and Disease Control: Monitor the plants regularly for signs of pests or diseases. Address any issues promptly using appropriate organic or chemical controls.
Harvesting and Storing Your Garlic
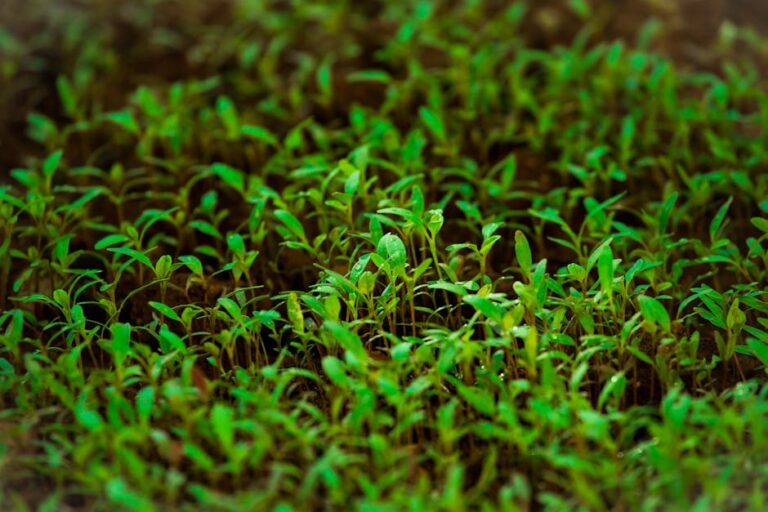
Garlic is typically ready for harvest in late summer or early fall, about 8-10 months after planting. The leaves will begin to yellow and die back, indicating maturity. Harvest the garlic when the leaves are mostly dry, carefully dig up the bulbs, and allow them to dry completely in a well-ventilated area for several weeks before storing in a cool, dark, and dry place.
Troubleshooting Common Garlic Propagation Problems
Even with careful planning, you might encounter challenges. Here are some common issues and solutions:
- Poor Germination: This could be due to planting too deep, using damaged cloves, or insufficient moisture. Use quality seed or cloves, plant at the correct depth, and maintain proper moisture levels.
- Disease: Inspect bulbs before planting. Remove diseased ones and consider soil rotation or using disease-resistant varieties.
- Pest Infestation: Regularly check for pests like nematodes or garlic mites. Address infestations promptly with appropriate methods.
- Poor Growth: Check soil conditions. Ensure the soil is well-drained and has adequate nutrients. Adjust watering and fertilizer applications accordingly.
Conclusion
Propagating garlic is a rewarding gardening experience that guarantees a delicious and healthy harvest year after year. By following these guidelines and paying attention to the specific needs of your climate and garlic variety, you can successfully grow your own abundant supply of this versatile culinary staple. Experiment with different methods, learn from your successes and failures, and enjoy the fruits (or rather, bulbs) of your labor!